Photographing the Northern Lights: Tips From the Field
There are few moments in photography that truly stop you in your tracks, and watching the Northern Lights dance across the sky is one of them.
I’ve been lucky enough to photography the aurora in some incredible locations around the world, and while it’s an unforgettable experience, it can also be frustrating if you’re not prepared. The light is constantly changing, the conditions can be tough, and getting the shot isn’t always straightforward.
If you’re planning to photograph the Northern Lights, these practical tips will help you make the most of your time in the field.

1. Start With Planning (It Makes All the Difference)
Photographing the aurora isn’t just about luck. You will dramatically improve your chances with good planning.
Look out for:
Aurora forecasts (KP Index) – can give an indication of activity levels
Clear, dark skies – minimal cloud and low light pollution are essential
Moon phase – less moonlight means better contrast, more moon lights up the landscape
Location – some places are better than others. Our Alaska locations are amongst the most reliable in the world!
Even with everything lining up, patience is key. Some of the best displays I’ve seen have come after hours of waiting in the cold.
2. Use Simple, Reliable Gear
You don’t need a complicated setup—but you do need the right essentials.
My go-to kit includes:
A mirrorless or DSLR camera with manual controls
A fast wide-angle lens (f/2.8 or faster if possible)
A solid tripod (non-negotiable)
Spare batteries (the cold may chew through them fast)
Keep things simple so you can react quickly when the lights start moving.
3. Dial In Your Settings Quickly
When the aurora appears, it often changes fast! Having a starting point helps. Here is what I feel are the best camera setting for Northern Lights.
Try this:
Mode: Manual
Aperture: f/2.8 - or as wide as your lens allows
ISO: 800 to 3200
Shutter speed: 5 - 15 seconds
White Balance: Kelvin 3400
From there, adjust depending on what you’re seeing. Faster moving aurora? Drop your shutter speed to keep details. Faint glow? Increase ISO or exposure time.
There’s no single “perfect” setting, adaptability is key.

4. Get Your Focus Right (Before It Gets Dark)
This is one of the biggest challenges—and one of the most common mistakes.
Autofocus won’t work well at night, so:
Switch to manual focus
Focus to infinity
Take a test shot and double-check your images by zooming in on your screen
Use a piece of gaffer tape on your lens after focus is set to avoid accidental bumps
5. Think About Composition
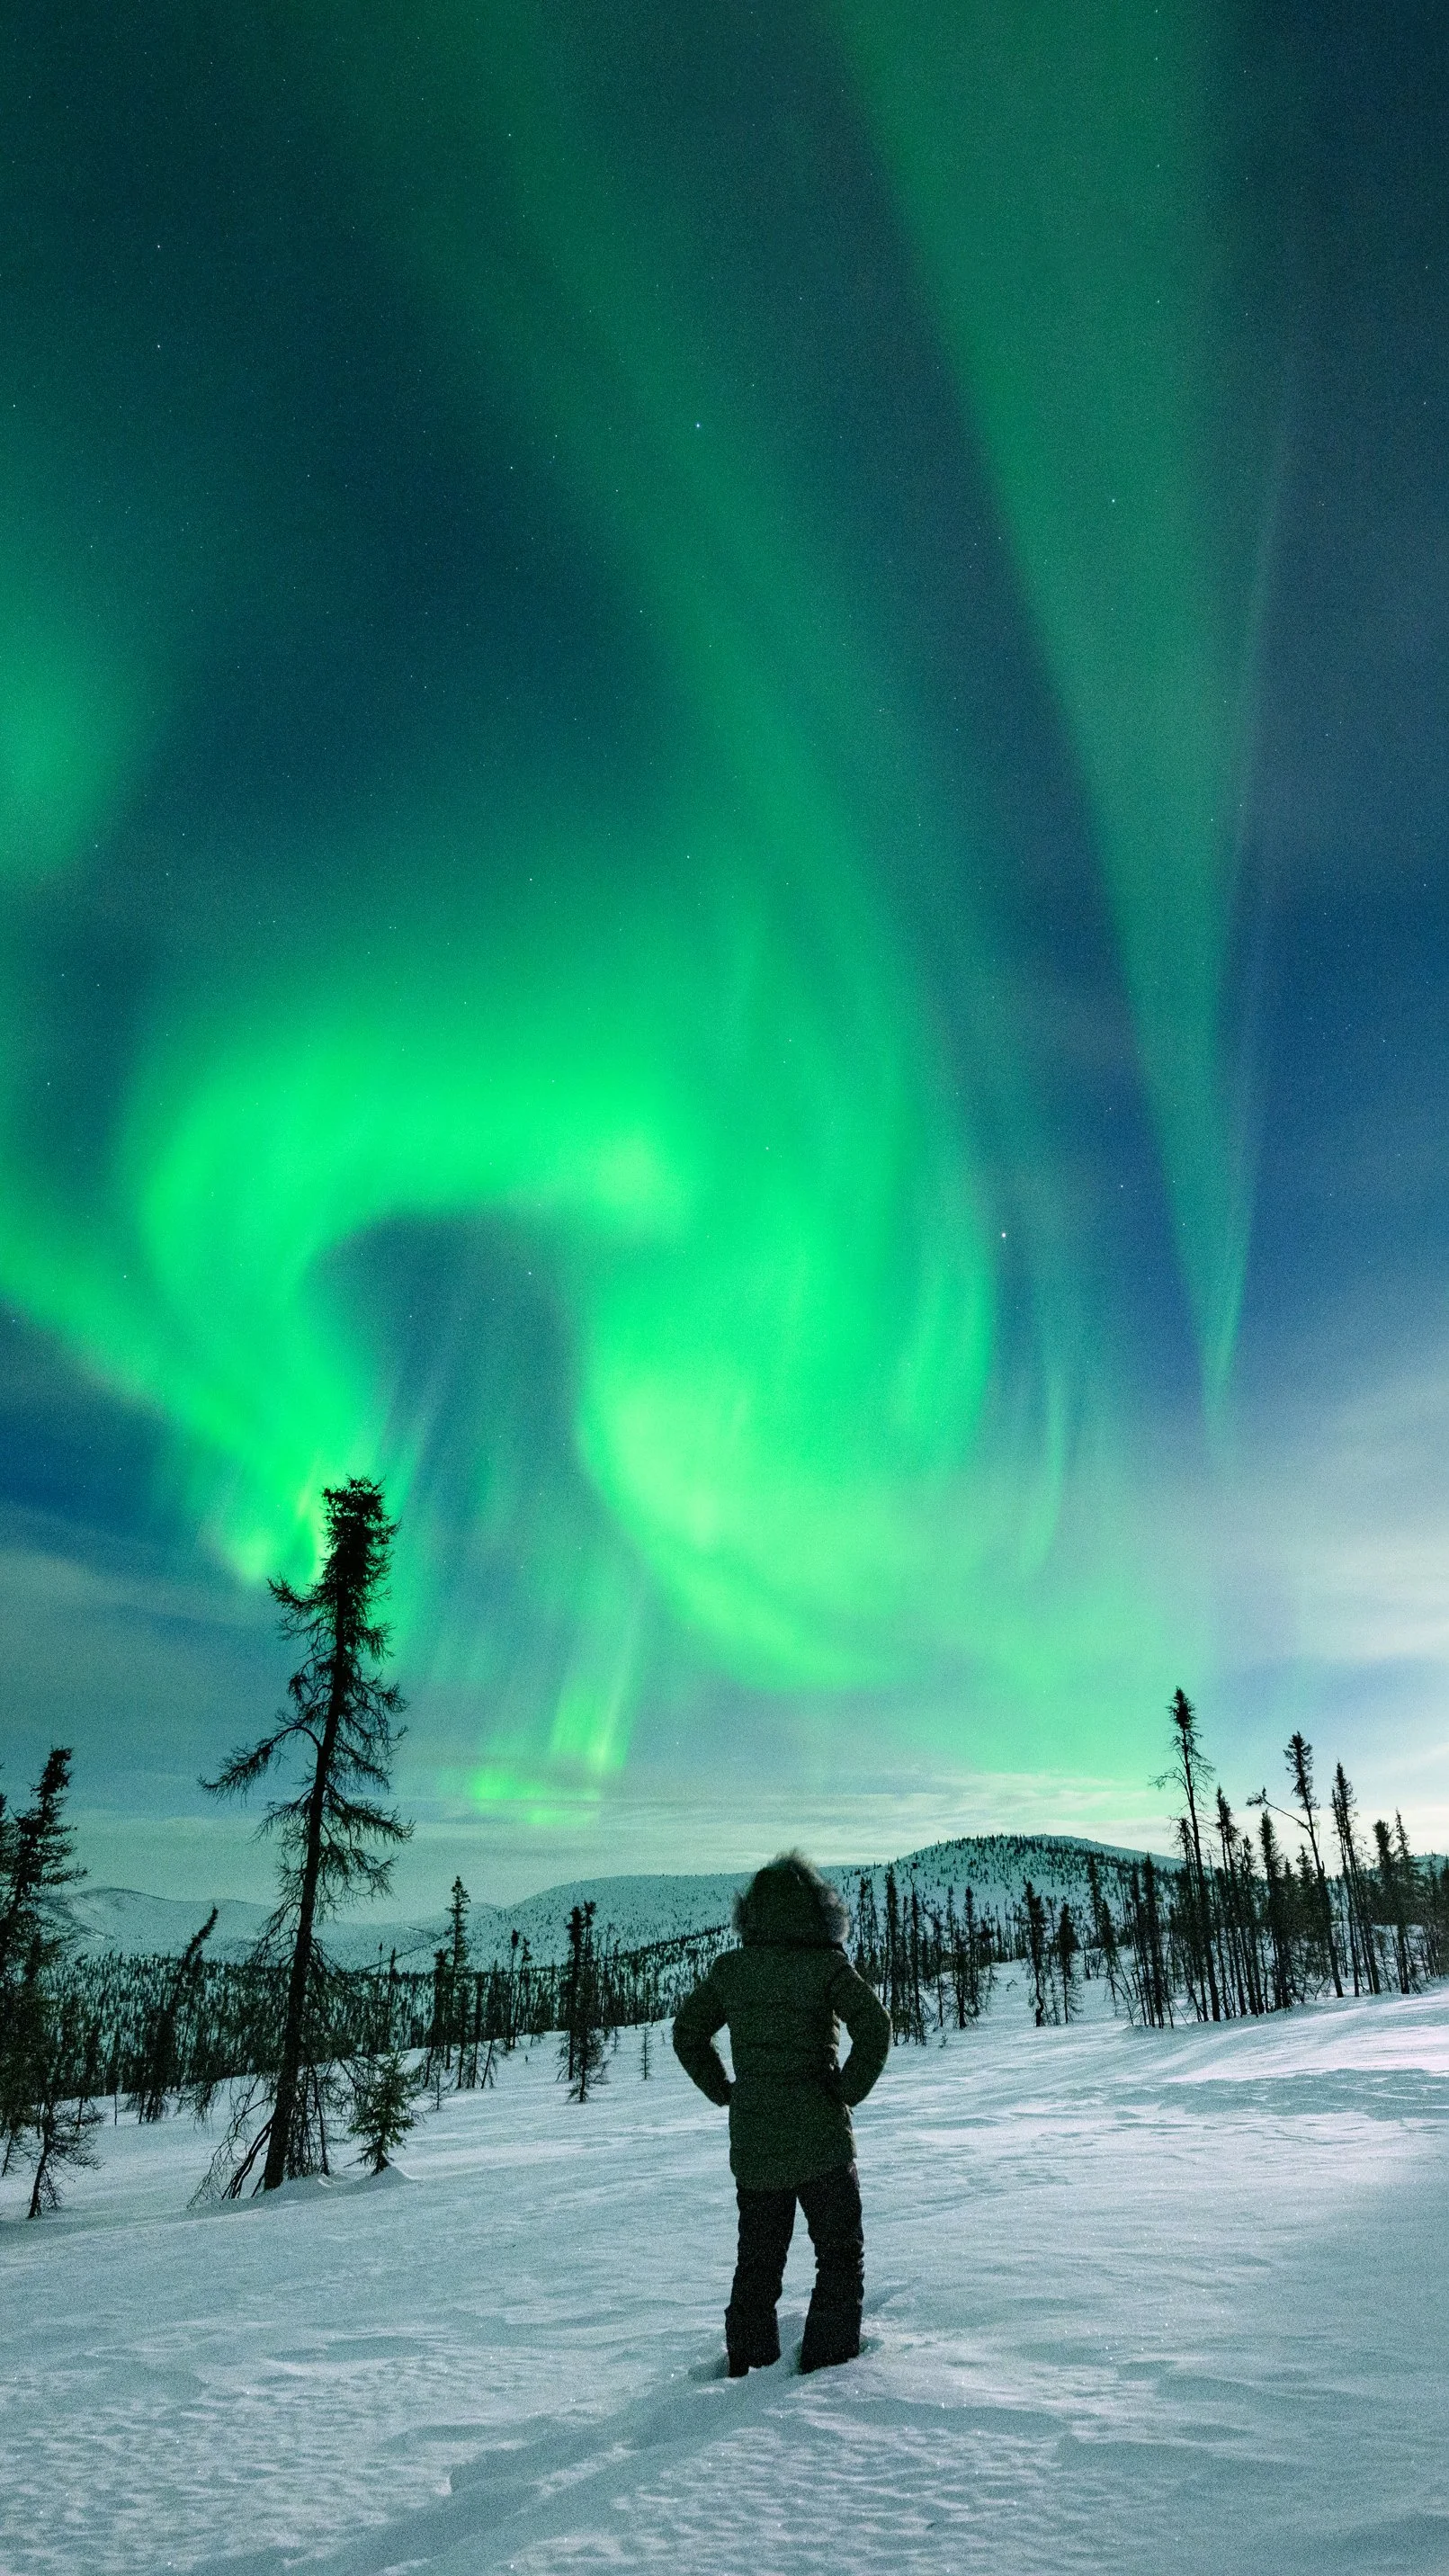
The aurora is incredible on its own—but strong images usually include something more.
Look for:
Foreground elements like trees, mountains, or buildings
Reflections in lakes or wet ground
Leading lines that guide the viewer into the image
Adding a foreground gives scale and helps tell the story of the location—not just the sky.
6. Be Ready for the Cold
Shooting the Northern Lights can mean standing still in freezing conditions for hours.
A few lessons from experience:
Dress warmer than you think you need
Use gloves you can still operate your camera with
Keep spare batteries in your pocket (close to your body heat)
If you’re comfortable, you’ll stay out longer—and that’s usually when the magic happens.

7. Stay Flexible and Keep Shooting
The aurora is unpredictable. It can go from a faint glow to an explosive display in seconds.
When it happens:
SHOOT, SHOOT, SHOOT (for those who have traveled with me know this saying)
Change compositions
Experiment with vertical and horizontal framing
Some of my best images have come from just staying alert and adapting quickly.
8. Don’t Forget to Look Up at the Northern Lights
It sounds obvious—but it’s easy to get lost in your camera.
Take a moment, step back, and watch the sky without the viewfinder. It’s why you’re there in the first place.
Final Thoughts
Photographing the Northern Lights is one of those experiences that stays with you. It’s not always easy, but that’s part of what makes it so rewarding.
With a bit of preparation, a solid understanding of your gear, and a willingness to embrace the conditions, you’ll give yourself the best chance of capturing something truly special.